Getting Started with Fabric Modding
Minecraft modding has been a gateway for creativity in the gaming community for over a decade. This guide will walk you through setting up a Fabric modding environment using VS Code and creating your first basic mod.
Why Fabric?
Fabric is a lightweight modding toolkit for Minecraft that emphasizes flexibility and performance. Its modular system and rapid updates make it ideal for modern mod development.
Prerequisites
- Java JDK 17+
- VS Code with Java extensions
- Minecraft Java Edition
- Basic Java knowledge
Setting Up with VS Code
Step 1: Create Project Template
- Visit the Fabric template generator
- Fill in your mod details and download the ZIP
- Extract the files to your workspace
Step 2: Configure VS Code
// Install these extensions:
// - Microsoft Java Extension Pack
// - Gradle for Java
// - Fabric for VS Code (optional)
Open the project folder in VS Code. The IDE will automatically detect the Gradle project. Allow it to import dependencies.
Step 3: Run Configuration
Create a new run configuration in .vscode/launch.json:
{
    "configurations": [
        {
            "type": "java",
            "name": "Minecraft Client",
            "request": "launch",
            "mainClass": "net.fabricmc.devlaunchinjector.Main"
        }
    ]
}
Your First Mod
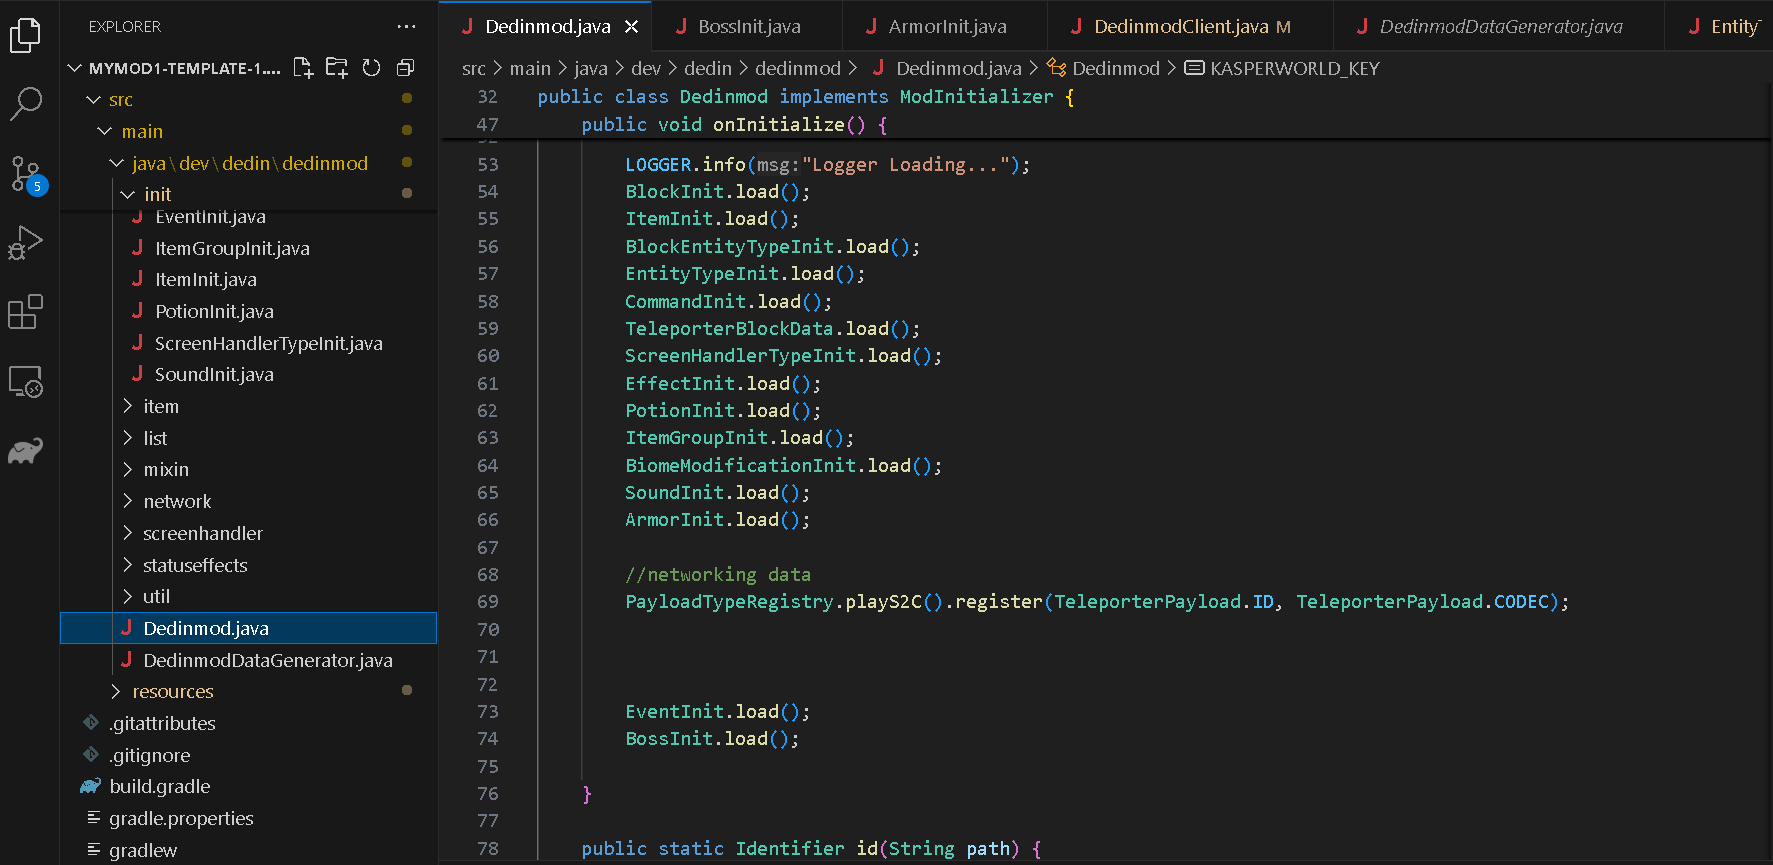
Create a simple console message when Minecraft launches:
public class ExampleMod implements ModInitializer {
    @Override
    public void onInitialize() {
        System.out.println("Hello, Fabric!");
    }
}
Adding Custom Items
Expand your mod with a new game item:
public class ModItems {
    public static final Item CUSTOM_ITEM =
        new Item(new FabricItemSettings());

    public static void register() {
        Registry.register(Registries.ITEM,
            new Identifier("mymod", "custom_item"),
            CUSTOM_ITEM);
    }
}
Resources
With these basics mastered, you're ready to explore more complex modding concepts. Stay tuned for our next guide on custom blocks and GUI elements!